How to Install a Dishwasher: Overview, Costs and When to Hire a Pro
A like-for-like swap is a manageable DIY job for some homeowners; new plumbing or wiring isn't. Here's an overview of the steps, costs and safety rules.
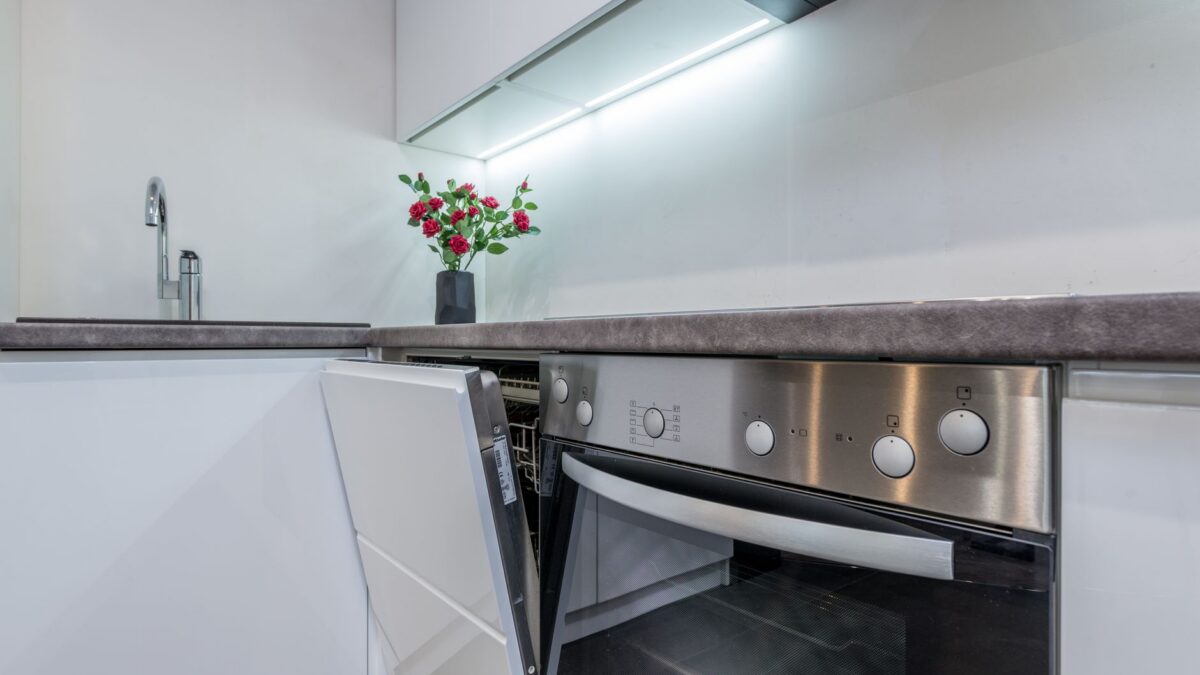
Installing a dishwasher involves three connections: a hot water supply, a drain to the sink drain or garbage disposal, and electrical power, all fitted to a standard opening (most full-size models are 24 inches wide). Replacing an old dishwasher with a similar one, using existing connections, typically takes a few hours for a handy homeowner. Shut off the breaker and the water supply before you start; if you need new wiring, a new circuit or new plumbing lines, hire a licensed electrician or plumber.
Always follow the installation instructions for your specific model; they override any general guide, including this one. The model number is on a label on the door edge or tub frame.
Before you buy: check the fit
- Width: most full-size built-in dishwashers fit a 24-inch opening; compact models are often 18 inches.
- Height and depth: measure from the floor to the underside of the countertop, and the depth of the cabinet. Check new flooring height, which can trap a dishwasher.
- Connections: check where the water valve, drain and power are. Many installation guides want them in an adjacent cabinet, routed through a hole in the side panel.
- Mounting: stone countertops usually need side-mount brackets instead of screws into the underside of the counter.
What you need
- The dishwasher’s installation instructions and included parts
- A new braided stainless steel supply line and a 90-degree elbow fitting (often sold separately; check the instructions for thread size)
- Thread sealant or plumber’s tape where the instructions specify it
- Drain hose clamp, and an air gap if your local code requires one
- A power cord kit if your model and outlet allow plug-in connection, or wire connectors for a hardwired junction box
- Adjustable wrench, screwdrivers, level, tape measure, flashlight, bucket and towels
- Non-contact voltage tester
Our basic home repair tool kit covers most of these.
Overview of the steps
- Turn off power to the dishwasher at the breaker and confirm it’s off with a voltage tester.
- Turn off the water at the supply valve under the sink (usually the hot water valve). If there isn’t one, or it won’t close, turn off the main; see how to shut off the water to your house.
- Remove the old dishwasher. Remove the kick plate, disconnect the water line (with a pan under it), the electrical connection and the drain hose, remove the mounting screws, then slide it out carefully.
- Inspect the connections. Replace an old, corroded or rubber supply line and a sticking shut-off valve. Look for any signs of past leaks under the sink and on the floor.
- Prepare the new unit. Attach the elbow fitting to the water inlet valve and, for hardwired models, prepare the junction box, following the instructions.
- Route lines and slide it in. Feed the supply line, drain hose and power through the cabinet opening as you slide the unit in, without kinking or trapping them.
- Connect the drain. Attach the hose to the disposal inlet or sink drain tailpiece with a clamp. Route it through an air gap or in a high loop secured under the counter, as your code and the instructions require. If connecting to a new disposal, remove the knockout plug first; see connecting a dishwasher drain hose to a garbage disposal.
- Connect the water to the elbow fitting and tighten as directed. Don’t overtighten compression fittings.
- Connect the power as specified: plug into a properly protected outlet if your model allows a cord, or connect wires in the dishwasher’s junction box (matching conductor to conductor, ground to ground screw) and close the cover.
- Level and secure. Adjust the legs so the unit is level and the door opens and closes smoothly, then fasten it to the countertop or cabinet sides.
- Test. Turn the water back on and check for drips. Restore power and run a cycle while you watch under the sink and behind the kick plate with a flashlight. Then refit the kick plate.
Codes and safety rules
- GFCI protection: the 2020 and later editions of the National Electrical Code require GFCI protection for dishwashers in many cases. Which code edition applies depends on your jurisdiction.
- Circuit: many manufacturers’ instructions call for a dedicated circuit of a specific amperage. Check yours; adding a circuit is a job for a licensed electrician.
- Drain backflow: some plumbing codes require an air gap; others allow a high loop. Requirements vary, so check with your local building department.
- Permits: some areas require a permit for new plumbing or electrical work, even for appliance replacement in some cases.
Typical costs as of 2026
| Item | Typical range (varies by region) |
|---|---|
| Pro labor, straight swap with existing connections | About $150 to $300 |
| Installation needing new water, drain or electrical lines | Can reach several hundred dollars or more, especially if both a plumber and electrician are needed |
| Supply line, elbow fitting, power cord kit | Usually modest; check whether they’re included |
| Haul-away of the old unit | Often offered by retailers, sometimes for a fee |
These figures are rough ranges from published cost guides and vary widely with region and the condition of your kitchen. Get a written quote that lists labor, parts and any extra work separately. Planning a bigger project? See our guide to the order of steps in a kitchen remodel.
When to hire a pro
- There’s no existing dishwasher, so new water, drain and electrical lines are needed.
- The wiring is aluminum, damaged, ungrounded or you’re not sure what you’re looking at.
- The shut-off valve is seized, corroded or leaks.
- The opening needs cabinet changes, or the floor height traps the unit.
- Your warranty or local rules require professional installation. Improper installation may void a manufacturer’s warranty.
Bottom line
A like-for-like dishwasher replacement is a reasonable DIY job if you’re comfortable with basic plumbing and electrical connections and follow the instructions exactly. New circuits, new lines and code questions belong with a licensed electrician or plumber.
FAQ
Does a dishwasher need hot or cold water?
Most US installation instructions call for a hot water connection. Some models can connect to cold; check your manual.
Can I plug in a dishwasher instead of hardwiring it?
Many models allow either, with a manufacturer-approved cord kit and a suitable outlet. Follow the instructions and local code.
How long does installation take?
A straight replacement often takes a few hours. New lines or cabinet work can stretch it to a day or more.