There is a good trend going on, many people are getting turned off by the number of chemicals in different cleansers. There are chemicals to create products, make them waterproof, clean better as well as chemicals to create different fragrances.
Instead of using harsh chemicals that may not be good for your health, many people have turned to natural products to achieve the same goal. To learn how to disinfect your fridge naturally, just continue to read our article. It contains the information you need to know about.
How to Disinfect a Refrigerator Naturally

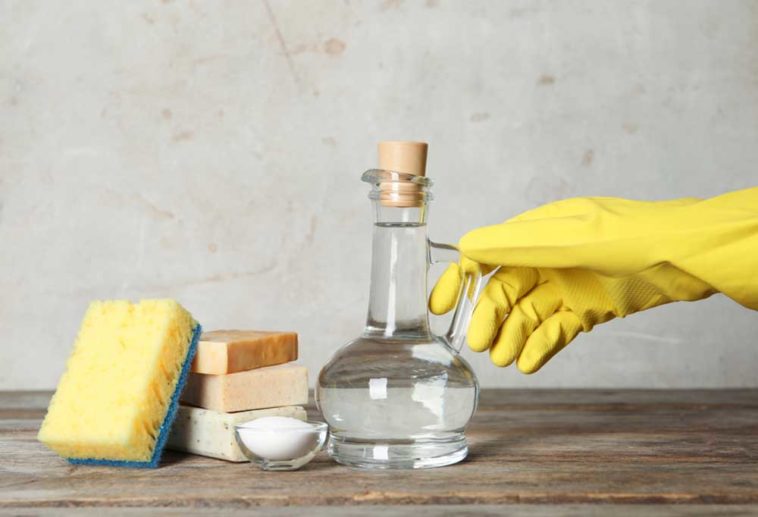
There are several steps to follow in order to do this correctly. Make sure you have blocked out enough time to do the chore without interruptions or delays. The supplies you need are minimal, and you should have them in your home already. What you will need as a cleaning agent are:
- 1/2 Cup of Vinegar (Apple Cider)
- 1/2 Cup of Hydrogen Peroxide
- 1 Cup of Water
- Some Drops of Essential Oils (Optional)
Step 1 – Preparing Your Fridge
Depending on the type of refrigerator you own, you may need to defrost it first. Simply unplug the appliance and wait till the defrosting is done. Then wipe away any moisture.
If your fridge is a frost-free model, then lower the interior temperature down a little to save on energy. Once you have done that, remove your food items storing them in appropriate coolers, and separate frozen and unfrozen foods.
Step 2- Clean Those Containers
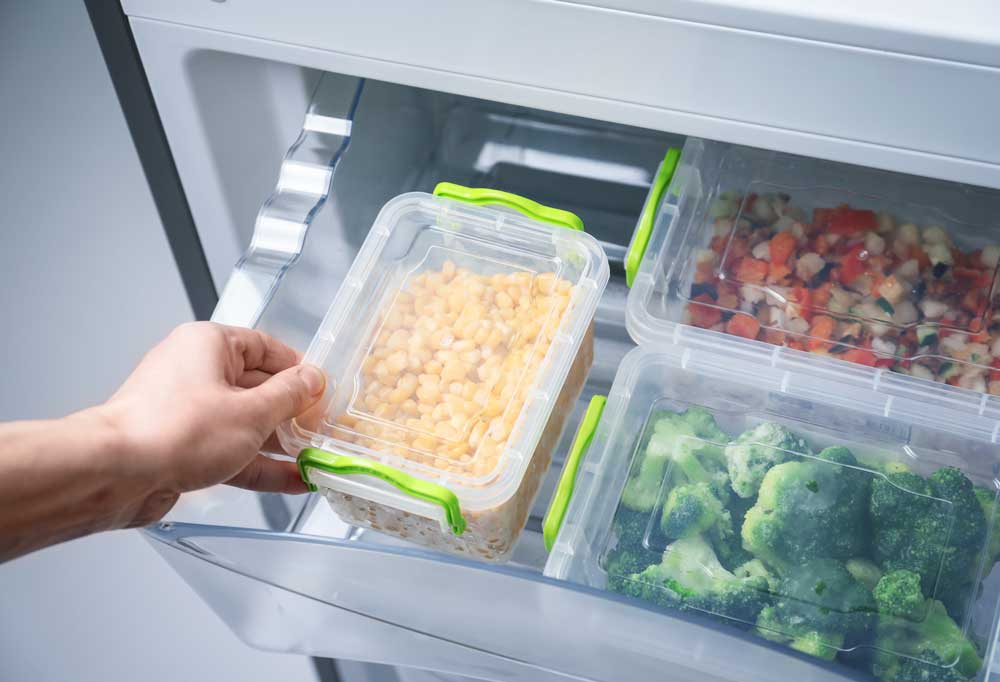
As you pull all the containers out for relocating in your coolers, wipe them down with the natural solution and get them nice and clean. You would be wasting your disinfecting time if you don’t. Make sure to discard expired food and drink items.
There is no sense placing dirty or bad food back into your fridge as those will just re-contaminate the fridge again.
Step 3 – Take Out Removable Shelves, Drawers, Etc.
The same principle applies here as it does to old food and dirty containers. Plus, these items are easier to wipe down and disinfect when they are out of their original places. It is possible to use soap and water but if you want a natural disinfection process, make an extra natural cleanser.
You can easily maneuver these items to make sure they get 100% clean and disinfected when they are in your hands and not in the fridge. Make sure they have a safe place to dry that is very clean.
Step 4 – Work on Your Fridge
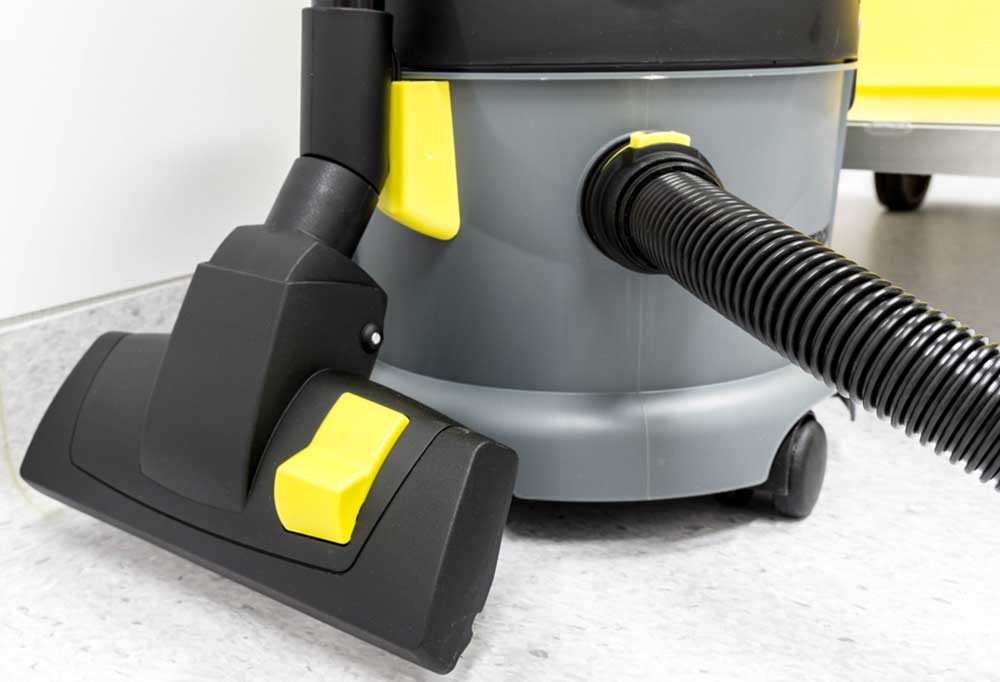
In this step, you should start with using your vacuum cleaner. There may be crumbs or smaller food particles that you can’t see. Removing these will make it easier to disinfect your refrigerator.
Just be careful to use the right attachment so you do not scratch the inside of the fridge. Once this is done, spray the interior of your fridge with the natural disinfectant. It should be in a spray bottle and make sure to let the liquid drip down into hard-to-reach areas.
After you have finished spraying, wipe the interior with a clean, dry cloth, and then use a toothbrush to get those little nooks and crannies your fingers do not fit into.
Step 5 – Don’t Forget the Outside and the Handles
The inside is not the only place you need to disinfect. Germs are everywhere and can easily be transferred back into the interior if you do not disinfect the outside and the handles.
Also, do not forget to disinfect the rubber gaskets surrounding the doors that seal the cold air inside. They get germs, etc., as well. When you come across hard to remove stains you can let the disinfectant soak in for a few minutes or make a paste of dishwashing liquid and baking soda and put that mixture on the stains.
Step 6 – Re-Stock the Fridge

After you have cleaned and disinfected your fridge, let it dry. It can air dry if you want or wipe it down with another clean cloth. Once that is done, put everything back into the fridge and your freezer.
The only thing that does not go back is those food items you threw away. Label any containers with an expiry date so you do not forget to throw bad food out. Don’t forget to turn the temperature control back to cool and freezing and make sure the fridge is plugged back in.
As you can see, this is more of a labor-intensive chore. It takes a little time, some natural cleanser, and a little elbow grease to disinfect your appliance. In the end, the effort is worth it all as you have a germ-free appliance that is healthy for you and your family to use.
Please keep in mind that we may receive a small commissions when you click our links and make purchases. However, this does not impact our reviews and comparisons. We try our best to keep things fair and balanced, in order to help you make the best choice for you.