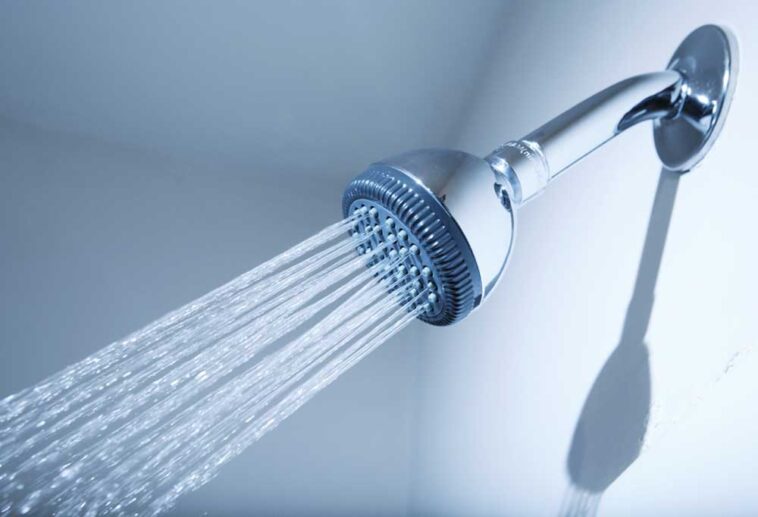
The water pressure is fine. That is the way it is with most shower heads that get replaced. They are still functional and do their duty well. However, because of lime and other issues, the old shower head just looks exactly like that- old.
That dingy, dirty look can detract from your excellent bathroom decor. That is why many people like you decide to change their shower head even if it comes with a ball. To learn how to do this simple and straight forward task, just continue to read our article.
It gives you the steps and information you need in order to save money and do it yourself.
Two Types of Shower Heads with Balls
Contents
This is the first step in the removal process. You need to determine which type you have before you go out and make your purchase. There is a shower head with a ball that cannot be removed from the arm.
And there is the type that can be removed from the arm. The fixed system means you normally have to remove the ball and shower head as one unit as well and that is fine. This task is not a lot of work, and it provides you with some flexibility.
Which shower head design you use is up to you and your situation or preference. The cost goes up the more elaborate of design you get.
How to Remove a Shower Head with Ball

Step 1 – Gather Your Tools and Supplies
After making your determination, go out and buy the shower head you want to have in your bathroom. You will have some expensive choices as well as low flow models and just regular, standard shower heads to look through.
Next, get your tools and all you will really need is a flat head screwdriver, channel lock pliers, Teflon tape, and a small rag. Do not forget to turn the water off while you are working. You do not need any wet surprises.
Step 2 – Remove the Old Shower Head
If it is the removable type, all you have to do is just lock those pliers into place and turn counter-clockwise. Once you break the seal, the head will easily be turned by your hand.

Step 3 – Clean the Threads
Once the old shower head is off, take some time to clean the threads. Get rid of any old Teflon tape, dirt, and deposits. This will make installing the new shower head a lot easier and cleaner.
Step 4 – Install the New Shower Head
This step is where you add the new Teflon tape and make sure you cover the threads well but not so well that you cannot screw the new shower head into place. Once the Teflon tape is in place, position the new shower head.
Turn the new shower head until it is hand tight. When you reach that spot, get a clean cloth and wrap it around the joint. Then place your channel lock pliers onto the rag and give the shower head a final turn.
You do not need to over-tighten to prevent leaks as that is what the Teflon tape does for you.

Step 5 – Do a Test
Every plumbing job needs to be tested for water leaks. Replacing shower heads is not excluded from this final task. Turn the water back on and then go to the bathroom and turn the shower on.
Look for any leaks that may occur. If there are none, then you are fine. If there are some leaks, you will have to remove the shower head and apply more Teflon tape. Then re-attach the shower head once again and re-do the test.
Once there is no water leaking, you are done, and you can enjoy a great hot shower.
Changing the Ball
There will be times where you will want to keep the ball system in place. That means you will also have to change the ball at the same time you replace the shower head. Once the shower head is off the ball, you need to look for the locking nut.
After finding it, you need to loosen the nut in order to remove the ball. Just reverse the process when you are putting the new ball in place. You should clean out any old tape, dirt, and grime you find before installing the new ball.
The only thing to be careful about is to not use a lot of force. Shower heads and arms are fragile and can damage easily if too much force is applied. Don’t forget to add the Teflon tape in the places it needs to go.
Some Final Words

Replacing shower heads with balls is not a lot of work. The task goes by quicker than you would imagine as long as you follow all the steps correctly. Nothing stops you from replacing the arm and getting a different type of shower head assembly. It is all up to you what you do to your bathroom.
Please keep in mind that we may receive a small commissions when you click our links and make purchases. However, this does not impact our reviews and comparisons. We try our best to keep things fair and balanced, in order to help you make the best choice for you.


