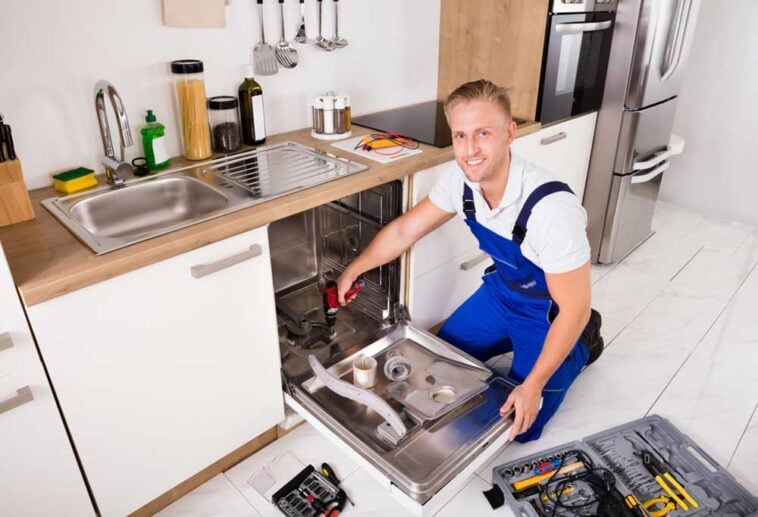
It is not all fun and games, this task can be a very difficult job to do. Some appliance outlets will do the uninstalling, installing, and connecting of your new dishwasher for you. It is part of their service and often that service is included in their sales price.
However, not everyone does this kind of customer service anymore. Many of the larger stores leave you to your own devices and have you do all the work. This is not a fun task to do, especially when you do not have any handyman skills.
To make this job easier, you just keep reading our article. It has the information you need to make sure you do well at installing and connecting your new dishwasher.
Uninstalling Your Old Dishwasher Will Help You

If you are replacing an old dishwasher, your best teacher will be your old appliance. All you have to do is look at how your old unit is set up and connected and that is it. There are only 3 connections you have to make. The power supply, the water supply, and the drain are all that are attached to your new dishwasher.
The locations should be nearly close to the same on all models but if not, you may find that you will have to use some adapters to get everything connected just right. One of those issues may be where the power supply comes from.
Most electrical codes require that your dishwasher be powered through a dedicated line. if your old one isn’t or you do not have a dedicated line under the counter, then you may have to pay an electrician to install one for you.
Check with your state to see what code regulations apply to your dishwasher situation. Some codes may require GFCI protection, so double-check to make sure.
Connecting Your Dishwasher

Step 1: If it is not already connected, attach the power cord to the wires inside of the dishwasher. The wire nuts should be included with your dishwasher, but you may have to ‘punch’ out the access hole to feed the cord through to get to those wires.
Step 2: Connect the water supply – The first part of this task is to insert the dishwasher 90 adapter into its proper place. This spot is on the solenoid valve and makes sure you apply either Teflon tape or the plumber’s pipe joint compound on the threads.
Then screw this adapter into place. Hand tighten and when it reaches that point, use a wrench to tighten it a 1/4 turn more.
Step 3: Connect the water lines – This is not a hard task to do at all. if you have had experience replacing water lines on your sinks, it is the same concept. You just connect one end to the dishwasher 90 elbow and you are done.
Hand tighten and do the 1/4 turn with the same wrench, and it should be watertight.

Step 4: Next, position your dishwasher. You want to make sure it is in the right spot and level. Then as you do this, feed the power cord, water line, and drain hose through the wall of the cabinet at the same time.
Make sure there are no kinks or problems when you do this. Once it is in place, use the adjustable legs to get the dishwasher level and stable.
Step 5: Secure your dishwasher – This is where you put the screws holding the braces into your kitchen cabinet to hold the dishwasher in place. This is important and needs to be done in such a way that you do not lose the level or stability of the appliance.
The hardware should be already supplied and in the box.
Step 6: This is the step where you connect the other end of the water supply line to your water supply under your kitchen sink. It is not hard to do but make sure you tighten the connection gently and carefully.
Once tightened, turn the water on to see if there are any leaks. Wait a few minutes and if you see a little water dripping out, carefully tighten the dishwasher 90 elbow and the regular water supply connectors.
Step 7: Now you connect the drain hose. There may be different methods of doing this depending on the model of your dishwasher. Your instruction booklet will tell you the correct way to go about this.
Step 8: Once you have everything connected, it is now time to do a test. Turn on your dishwasher after plugging it in and run it through a full cycle. Make sure there are no leaks, and the water drains perfectly.
Step 9: Put on the faceplate, clean up your tools and go and relax.
Some Final Words

If you are handy with tools and can handle simple appliance jobs like this, connecting your dishwasher will be a piece of cake. Just go step by step and you should be fine.
Please keep in mind that we may receive a small commissions when you click our links and make purchases. However, this does not impact our reviews and comparisons. We try our best to keep things fair and balanced, in order to help you make the best choice for you.


