How to Fix a Bad Ceiling Texture Job: Patch, Skim or Retexture
A bad ceiling texture job can be patched if the flaw is small, skim coated if it is widespread, or retextured over primer. Steps, tools and safety checks.
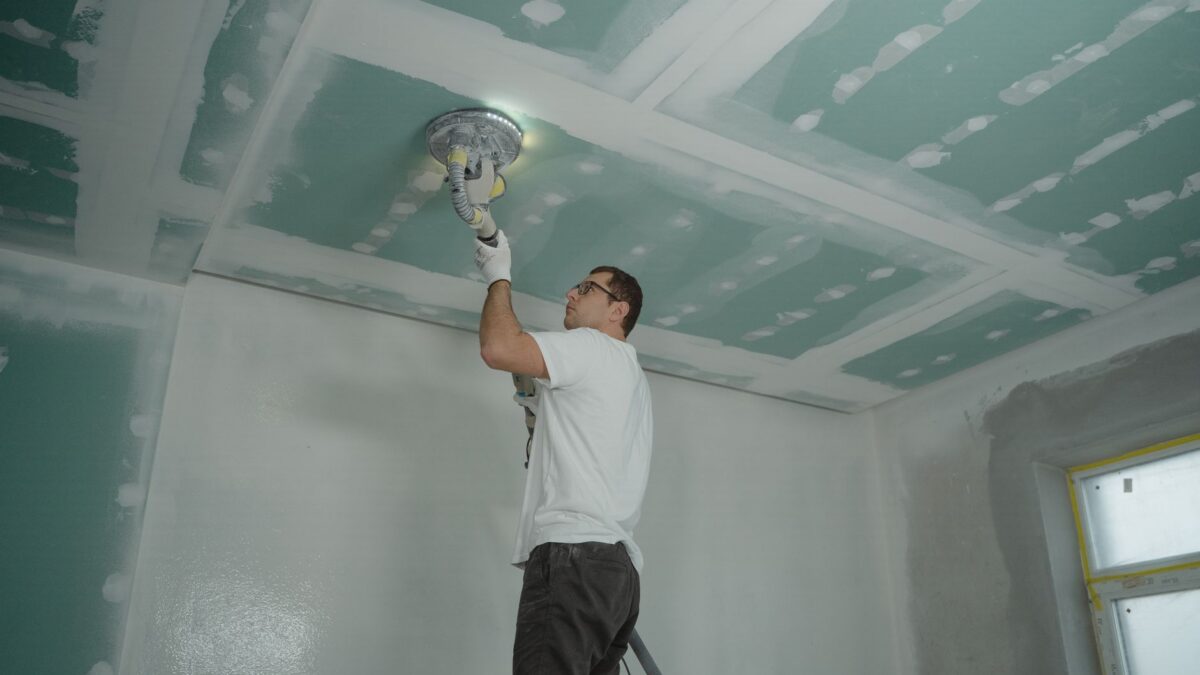
A bad ceiling texture job can be fixed in one of three ways: patch and blend the flawed spots when the problem covers a small area, skim coat the whole ceiling smooth when the texture is uneven everywhere, or prime and retexture over the old finish when the pattern is sound but looks wrong. Most patches take an afternoon plus drying time, while a full skim coat or retexture of one room usually takes two to three days because each coat of joint compound has to dry before the next step.
Before you scrape or sand anything, check the age of the ceiling. Textured ceilings applied before the 1980s may contain asbestos, and paint applied before 1978 may contain lead, so test first in an older home.
What counts as a bad texture job?
A texture job is bad when the pattern, thickness or coverage is uneven enough to see from the floor in normal light. Common problems include:
- Heavy blobs or splatter next to thin, bare-looking areas
- Knockdown texture that was flattened too early, leaving smeared patches, or too late, leaving sharp peaks
- Visible lap lines where one batch of compound met another
- Tape seams, screw heads or patches that show through because the texture was too light to hide them
- A pattern that does not match the rest of the house after a repair
- Cracking or flaking, often from compound applied too thick or over a dusty, unprimed surface
Look at the ceiling with a work light held flat against it. Low-angle light exaggerates every ridge and shows where the real problem areas are.
Is the old texture safe to disturb?
Popcorn and other sprayed ceiling textures made before the 1980s can contain asbestos, which becomes a hazard when it is scraped, sanded or broken into dust. Send a small sample to an accredited lab, or hire a licensed inspector, before any demolition. The U.S. Environmental Protection Agency explains testing and when to use a trained professional. If the ceiling is painted and the house was built before 1978, test the paint as well and follow the lead-safe work practices from the EPA’s lead program.
If either test is positive, covering the ceiling (skim coating over it or installing new drywall on top) is often a safer route than removal. Removal of asbestos material should go to a licensed abatement contractor.
When is patching enough?
Patching works when the flaw is confined to a few spots or one strip of ceiling and the rest of the texture looks right. Typical cases are a single blob, a repaired hole or a seam that shows.
- Scrape off high spots with a 6-inch drywall knife. Lightly mist sprayed texture with water first to soften it if testing showed no asbestos.
- Fill low or bare areas with a thin coat of joint compound and let it dry fully.
- Sand lightly with a fine sanding sponge or 120 to 150 grit paper and wipe off the dust.
- Prime the patch so it absorbs paint the same way as the surrounding ceiling.
- Match the texture on a scrap of drywall before you touch the ceiling. Aerosol texture cans with adjustable nozzles work for small orange peel or splatter patches; knockdown needs compound thinned and flattened with a knife once its sheen starts to fade.
- Feather the new texture outward a few inches past the patch so the edge blends, then paint the whole ceiling plane.
Popcorn ceilings follow a slightly different routine, covered in the guide on repairing a crack in a popcorn ceiling.
When should you skim coat the ceiling instead?
Skim coating is the better choice when the bad texture covers most of the ceiling, when you want a smooth finish, or when the old texture cannot be safely removed. A skim coat is two or three thin layers of joint compound spread over the whole surface to bury the texture.
- Knock down sharp peaks with a drywall knife or pole sander so the trowel does not catch.
- Prime painted or glossy surfaces with a bonding primer so the compound grips.
- Thin all-purpose or lightweight joint compound with a little water until it spreads easily but does not run.
- Roll or trowel it on in sections, then pull it tight with a wide knife (10 to 14 inches) or a skimming blade.
- Let each coat dry completely, usually overnight, then scrape ridges and apply the next coat at a right angle to the first.
- Sand the final coat, vacuum the dust, prime with a drywall primer and paint with flat ceiling paint.
Ceilings are hard work overhead. Use a stable platform or scaffold rather than reaching from a ladder, and wear eye protection, since compound drips while you work.
How do you retexture over a bad texture?
Retexturing works when the surface underneath is solid and the problem is only the look of the pattern. Scrape or sand the worst high spots, fill gaps, and apply a coat of primer so the new texture dries at an even rate. Then spray or roll on the new texture across the entire ceiling in one session, working from one wall to the other so no section dries before you blend into it. Mixing a full batch at the start keeps the consistency the same from one end of the room to the other.
Practice on a sheet of scrap drywall propped against a wall. Spray distance, air pressure and compound thickness change the pattern far more than most people expect, and a few test passes save repainting the whole ceiling.
What mistakes cause a bad texture job in the first place?
- Skipping primer, so bare drywall and compound absorb texture at different rates
- Mixing small batches that come out with different thickness
- Knocking down too soon or too late
- Working in a hot, dry room where the edges dry before the next pass
- Applying compound too thick, which can crack as it shrinks
- Painting before the texture is fully dry
A ceiling that keeps cracking after a repair can point to movement or moisture above it. Find and fix any roof, plumbing or attic condensation problem before you retexture, or the new finish will fail in the same place.
Quick answers
Can I paint over a bad ceiling texture to hide it?
Paint does not hide an uneven texture. It can make flaws easier to see, especially in satin or gloss sheen. Flat ceiling paint hides small irregularities best, but blobs, ridges and bare spots need patching or a skim coat first.
Should I hire a drywall finisher?
Hire a finisher for a large ceiling, a high or vaulted ceiling, or a job where the texture must match the rest of the house exactly. A professional with a hopper gun and a scaffold can usually finish in a fraction of the time a first-time DIYer needs.
Can I scrape off the texture instead of covering it?
Sprayed texture that has never been painted often scrapes off after misting with water. Painted texture resists water and is much harder to remove. In both cases, test for asbestos first if the ceiling dates from before the 1980s.
How long should texture dry before painting?
Most joint compound textures need about 24 hours to dry before primer and paint. Allow longer in cool or humid rooms and when the texture was applied thick.