How to Restore Hardwood Floors Without Sanding: What Works, What Not
Most tired-looking wood floors are suffering from dirt, residue and worn finish, not damaged wood. That opens up cheaper fixes than a full sand and refinish.
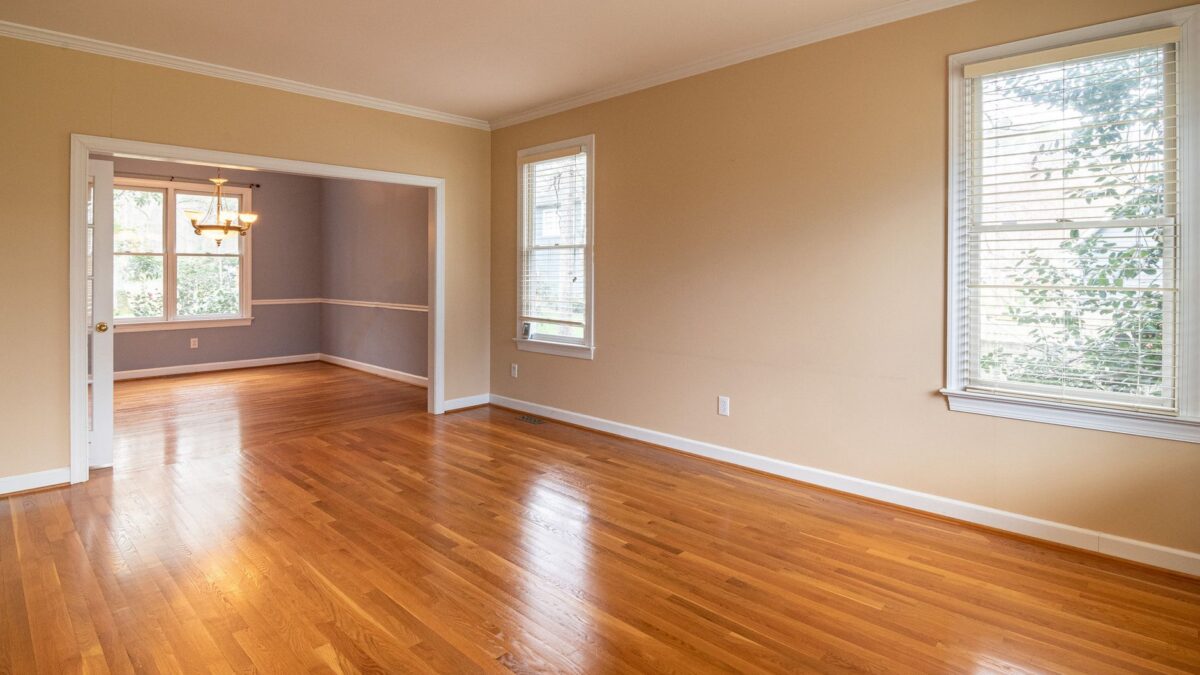
If your hardwood looks dull and covered in fine scratches but the color is still even, you can usually restore it without sanding: start with a residue-removing deep clean, then try a finish refresher, and if that is not enough, do a screen and recoat (lightly abrading the top coat and adding a fresh coat of finish). A weekend covers most rooms. The hard limit: if the finish is worn through to bare, gray or stained wood, or boards are cupped from water, only sanding or board replacement will fix it.
The trick is knowing which layer is damaged. On most modern floors the wood is protected by a clear surface finish, usually polyurethane. Everyday wear happens in that finish, which is good news, because the finish can be refreshed without touching the wood underneath.
First, figure out what finish you have
Every method below depends on the finish, so check before buying anything:
- Surface finish (polyurethane or similar): a drop of water beads up and the floor has a visible sheen. Most floors finished in recent decades fall here.
- Wax: rub a hidden spot with fine steel wool or a fingernail; a gray, smudgy residue suggests wax. Older homes are more likely to have it.
- Penetrating oil or hardwax oil: a matte, natural look with no film on top. These are maintained with the maker’s own oil or soap, not polyurethane.
- Factory-finished (prefinished) boards: often have tough aluminum-oxide finishes that new coats do not stick to easily. Check the flooring maker’s care guide before recoating.
If you still have the flooring brand or installer’s paperwork, the recommended care products are usually listed there.
Step 1: Deep clean and remove residue
A lot of “dullness” is a film of dirt, old polish or the wrong cleaner. Removing it is free or nearly free and often makes the biggest visible difference.
What you need
- Vacuum with a hard-floor setting or soft brush head (beater bar off)
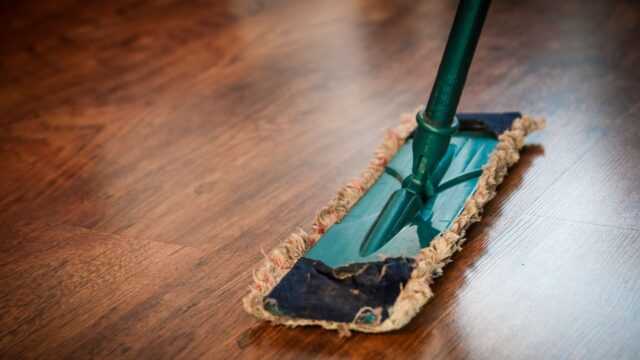
- Flat microfiber mop with several clean pads
- A pH-neutral cleaner made for finished wood floors
- Bucket, spray bottle, soft cloths
- Vacuum thoroughly, including edges, to remove grit that would scratch during cleaning.
- Mist the cleaner on a small section and wipe with a damp, well-wrung microfiber pad. Never flood the floor.
- Swap pads as they get dirty so you are lifting residue, not spreading it.
- Let the floor dry completely and look at it in daylight. Our guide on how to mop hardwood floors covers the routine in more detail.
If the floor has been treated with acrylic “shine” polishes for years, they can build up into a cloudy layer. Some makers sell a dedicated polish remover; follow the label and test in a closet first.
Step 2: Try a finish refresher
Refreshers (sometimes called restorers or rejuvenators) are thin, polish-like coatings you mop on to fill micro-scratches and add sheen. They are cheap and quick, but there is a trade-off worth knowing: many refinishers warn that polishes and refreshers can prevent a future coat of polyurethane from bonding. If you might screen and recoat soon, skip the refresher and go straight to Step 3, or choose a product its maker says is compatible with recoating.
Never put a polyurethane-floor refresher on a waxed floor, or wax on a polyurethane floor. Mixing systems is a common cause of sticky, streaky results.
Step 3: Screen and recoat
A screen and recoat (also called “buff and recoat”) is the real middle ground between cleaning and refinishing. A buffer with a fine abrasive screen scuffs the top layer of finish so a new coat can grip, then you apply one fresh coat of finish. The wood itself is not sanded, so color and stain stay the same.
Good candidates
- Even, light surface scratches and traffic dulling
- Finish still intact everywhere (no bare wood showing)
- No wax or incompatible polish on top, or it has been fully removed
How it typically goes
- Clear the room and deep clean as above. Any wax or polish residue must go first, or the new coat may peel.
- Abrade the surface with a buffer and fine screen (finish makers commonly specify roughly 100 to 120 grit or finer) or, for small rooms, by hand with an abrasive pad.
- Vacuum, then wipe with a barely damp or tack cloth until no dust remains.
- Apply one coat of finish compatible with the existing one, working with the grain and keeping a wet edge.
- Keep traffic, rugs and furniture off for as long as the label says. Dry-to-touch is not the same as fully cured.
You can rent buffers at many home centers, but water-based finishes dry fast and lap marks are easy to make. Many people hire a flooring contractor for this step; it is typically far cheaper than a full sand and refinish because it takes less time and labor.
Chemical “sandless” kits
Some kits replace the buffer with a liquid etching or bonding agent, followed by a new topcoat. They suit small, lightly worn areas. Ventilate well, wear gloves and eye protection, and follow the label exactly.
Spot fixes along the way
Individual scratches, scuffs or paint drips can be handled separately before you recoat. See our guides to fixing scratches in hardwood floors and getting paint off hardwood floors.
Where restoring without sanding stops
| What you see | Likely cause | No-sand fix possible? |
|---|---|---|
| Dull, hazy, slightly sticky | Residue or polish buildup | Yes: deep clean or residue remover |
| Fine, even surface scratches | Worn top coat | Yes: refresher or screen and recoat |
| Gray or bare wood in traffic lanes | Finish worn through | Usually no: sanding needed in those areas |
| Dark or black water stains | Moisture into the wood | Rarely: sanding or board replacement |
| Cupped or crowned boards | Ongoing moisture problem | No: fix the moisture source first |
| Deep gouges | Damage into the wood | Partly: filler or replacement board |
Safety notes
- Ventilate when applying finishes and follow the label for respirator advice.
- Rags soaked with oil-based finishes can self-heat and catch fire. Lay them flat outside to dry or seal them in a water-filled metal container, as the product label directs.
- If you live in a home built before 1978 and the floor has painted areas, old paint may contain lead. EPA has guidance on lead-safe work practices before any sanding or scraping.
When to call a pro
Hire a flooring contractor if the finish is worn through, the floor is engineered wood with an unknown wear layer, you are not sure what finish is on the floor, or the room is large enough that lap marks would be obvious. A pro can also tell you whether a recoat will bond or whether full refinishing is the only option.
Bottom line
Clean first, because residue is often the real problem. If the floor is still dull, a screen and recoat is the most effective no-sand option and keeps the existing color. Refreshers are handy for a quick boost but can complicate a future recoat. Anything that has reached bare or stained wood needs sanding.
FAQ
How often can you screen and recoat a hardwood floor?
There is no fixed rule. Floors in busy homes are often recoated every few years, ideally before the finish wears through, which keeps you away from full sanding longer.
Can I use a refresher on prefinished flooring?
Only if the flooring maker approves it. Many prefinished floors have specific care products, and the wrong one can void a finish warranty.
Will a screen and recoat remove deep scratches?
No. It smooths and renews the top coat, but scratches that cut into the wood stay visible. Treat those individually or sand.
Can I recoat a waxed floor with polyurethane?
Not directly. Polyurethane will not bond reliably over wax. The wax has to be fully removed, which often means sanding.