How to Fix Scratches in Hardwood Floors, From Light Scuffs to Deep Gouges
The fix depends on how deep the scratch goes. A quick inspection tells you whether you need a five-minute touch-up or a refinisher.
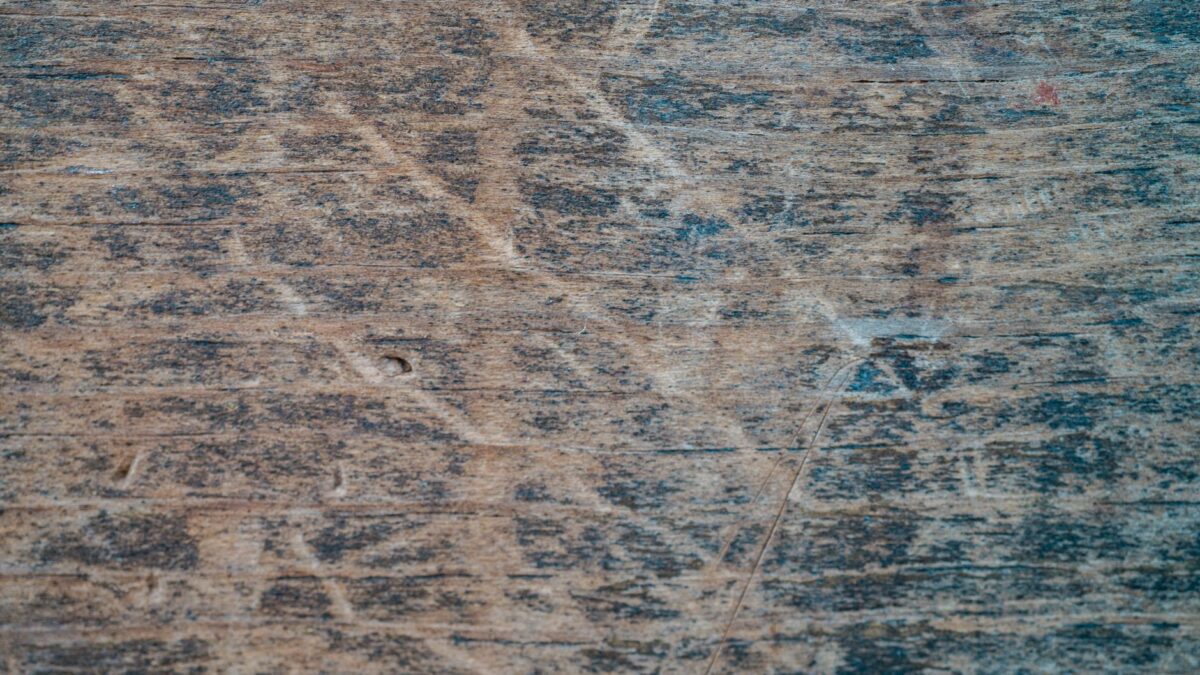
Most scratches in hardwood floors are only in the clear finish, show up as white or light lines, and can be blended in minutes with a thorough clean, a finish touch-up or a light recoat. Scratches that cut into the wood and show raw, lighter fibers need a stain marker for color and a wax fill stick or wood filler for depth. Deep gouges, wide damaged areas and worn-through finish call for sanding or replacing a board. Always test products in a hidden spot first.
Step 1: Diagnose the depth
Clean the area and look closely in good light. Run a fingernail across the scratch.
| Type | What it looks like | Typical fix |
|---|---|---|
| Scuff | Mark sits on top; may rub off | Clean with a wood-floor cleaner or a soft eraser |
| Finish scratch | Whitish line, nail barely catches, wood color unchanged | Touch-up finish, refresher or screen and recoat |
| Into the wood | Lighter, raw wood visible; nail catches | Stain marker plus clear touch-up |
| Gouge or dent | Noticeable channel or crushed fibers | Wax fill stick or wood filler, color, then seal |
| Wide or many deep scratches | Damage over a large area | Sanding and refinishing, or board replacement |
What you need
- Wood-floor cleaner and microfiber cloths
- Stain or touch-up markers in one or two shades near your floor color
- Wax fill sticks or colored wood putty
- Plastic putty knife
- Small artist’s brush and a little clear finish matching your floor’s sheen
- Very fine abrasive pad (only for touch-ups on surface finishes)
Fixing light surface scratches
- Clean first. Many “scratches” are scuffs or dirt in the finish. Clean with a pH-neutral wood-floor cleaner and dry.
- Try a finish touch-up. Apply a thin line of clear finish that matches your floor’s sheen with a fine brush, staying within the scratch. Let it dry fully.
- Consider a whole-room refresh. If there are dozens of fine scratches, spot fixes will look patchy. A screen and recoat renews the whole surface; see restoring hardwood floors without sanding.
Finish refreshers and polishes can hide fine scratches temporarily, but many refinishers caution that they can interfere with future recoating. Use them knowingly.
Fixing scratches into the wood
- Pick a color. Test markers on a spare board, a closet or under furniture. It is easier to go darker than lighter, so start one shade lighter than the floor.
- Color the scratch only. Draw along the scratch with the marker and wipe off excess on the surrounding finish right away with a dry cloth.
- Let it dry, then add a second pass if needed, mimicking the grain with short strokes.
- Seal. Brush a thin line of clear finish over the colored scratch so it does not wear off.
Filling gouges and dents
Wax fill sticks
Wax sticks are easy and forgiving, and suit small gouges in areas without heavy wear. Rub the stick across the gouge until it is filled, scrape the excess flush with a plastic card, then buff with a soft cloth. Wax stays soft, so it can wear and it may prevent finish from bonding on top. It is a good cosmetic fix, not a structural one.
Wood filler or putty
For deeper gouges, use a filler labeled for wood floors and in a matching color. Press it in with a plastic knife, overfill slightly, let it cure, then level it as the product directs. Some fillers can be lightly sanded and topped with clear finish; others are pre-colored and soft. Read the label before choosing.
Dents
Dents crush the wood fibers rather than cut them. Some people lift shallow dents in unfinished or oil-finished wood using a damp cloth and gentle heat to swell the fibers, but heat and moisture can damage polyurethane and engineered floors. On sealed floors, treat a dent as a gouge or leave it.
When sanding or replacement is the answer
- Deep scratches over a large area
- Pet nail damage throughout a room
- Gray traffic lanes where finish is worn away
- A single board split or badly gouged
Solid hardwood can usually be sanded several times over its life. Engineered hardwood has only a thin real-wood top layer; some can be sanded once or twice, others not at all. Check the product specifications or ask a flooring pro before sanding. Individual damaged boards can be cut out and replaced, which is a job best left to an experienced installer.
Prevention that works
- Felt pads under chair and table legs, replaced when they get dirty or thin
- Doormats at every entrance to catch grit
- Regular vacuuming or dust mopping; see how to mop hardwood floors
- Rugs in high-traffic zones and under rolling office chairs
- Keeping pet nails trimmed
- Lifting furniture instead of dragging it
When to call a pro
Call a flooring contractor for widespread damage, for engineered floors where you do not know the wear layer, or if touch-ups have left visible patches. If you also have paint splatters to deal with, handle those first; see getting paint off hardwood floors.
Bottom line
Check the depth before you buy anything. Light finish scratches need cleaning or clear touch-up, scratches into the wood need color plus a seal, and gouges need wax or filler. Large areas of damage are better handled by a recoat or a professional refinish than by dozens of spot repairs.
FAQ
Do walnuts really fix scratches?
Rubbing a walnut can darken a light scratch slightly with its oils on some woods. It is a cosmetic trick for tiny marks, not a repair, and results vary by color.
Will a stain marker match my floor exactly?
Rarely on the first try. Wood varies board to board, so many people blend two shades. Test on a hidden area first.
Can I fix scratches on engineered hardwood the same way?
Markers, wax sticks and clear touch-ups work similarly. Be cautious with sanding because the real-wood layer is thin.
Will touch-ups void my flooring warranty?
Some prefinished flooring warranties specify approved repair products. Check the warranty or the maker’s care guide first.